Last summer, we published an article about brewing coffee in a 10qt Stanley Classic lunch box. It was by far our most popular article last year. Why? There continues to be a trend all over social media about people making fun coffee brewing setups with the Stanley lunch box. So, how did it fare with our new travel pouches?
Easy. That’s the best descriptive word I could think of.

The idea behind using a Stanley lunch box to brew coffee is that you have everything you need in one great-looking and rugged case. As I shared in the previous article on the lunch box, I still remember my Dad using a metal lunch box for work as an electrician. It’s fun to see these lunch boxes have a resurgence in popularity. The amount of accessorizing that people do on these for coffee is impressive.

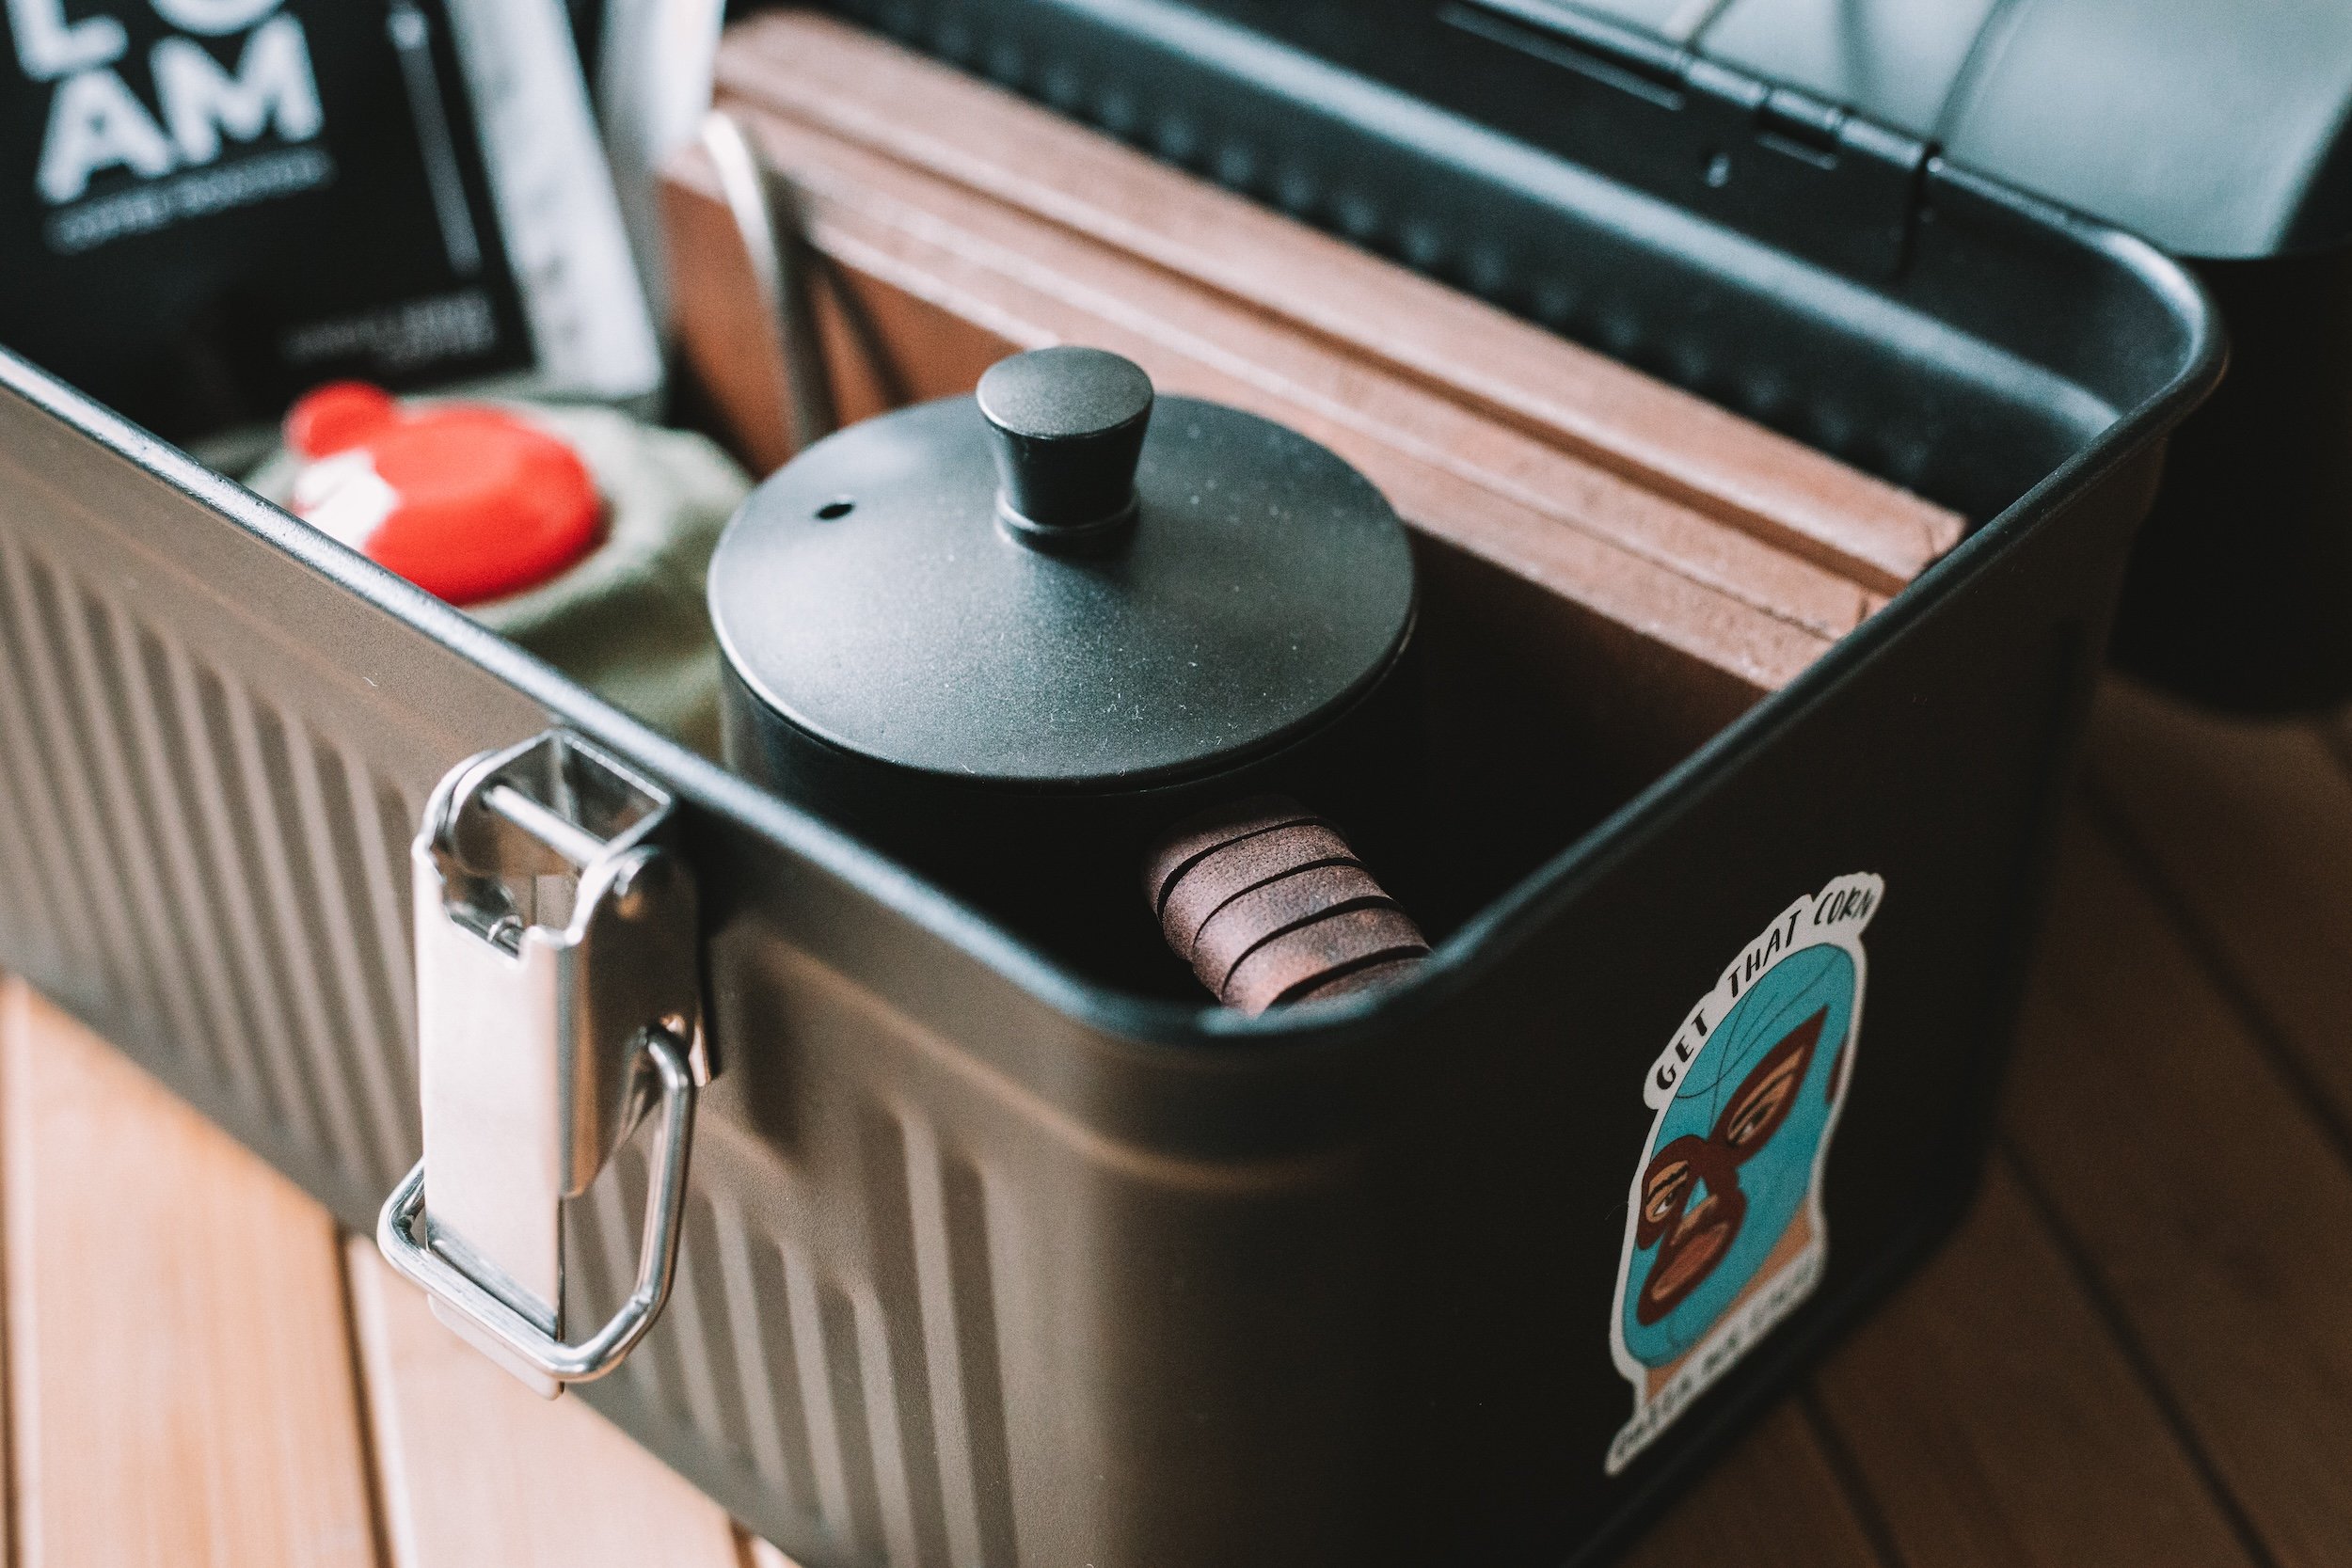
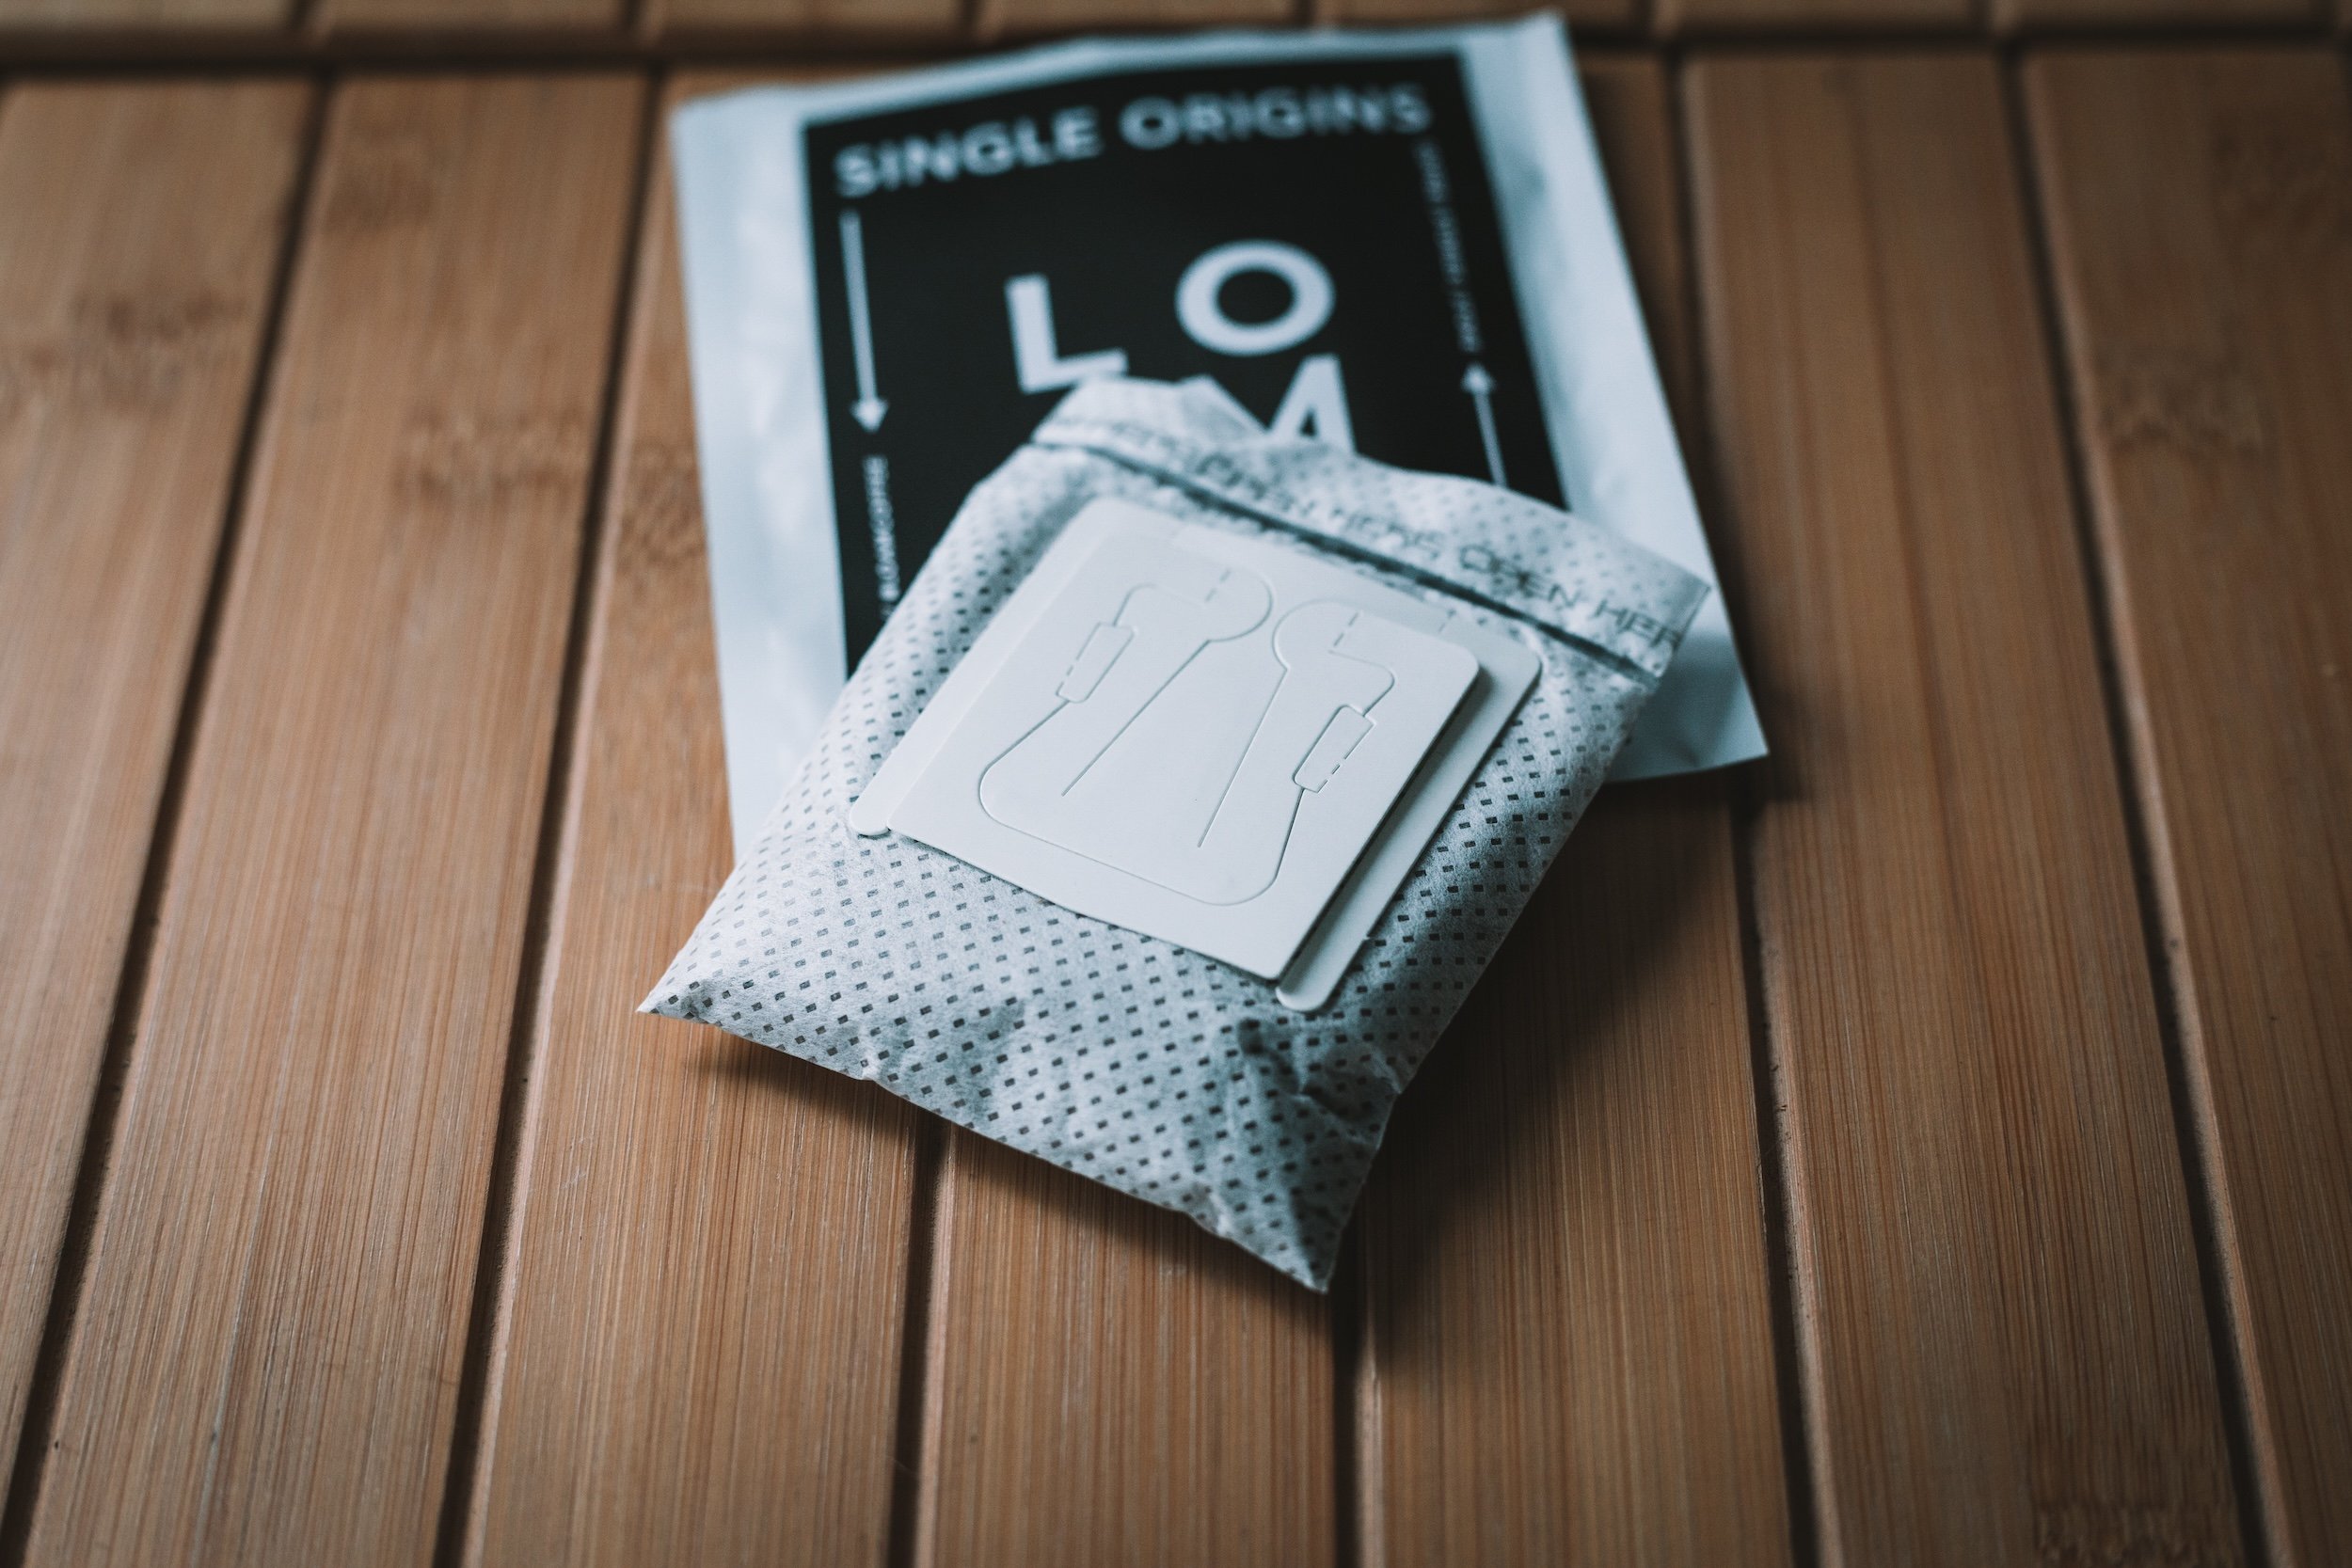
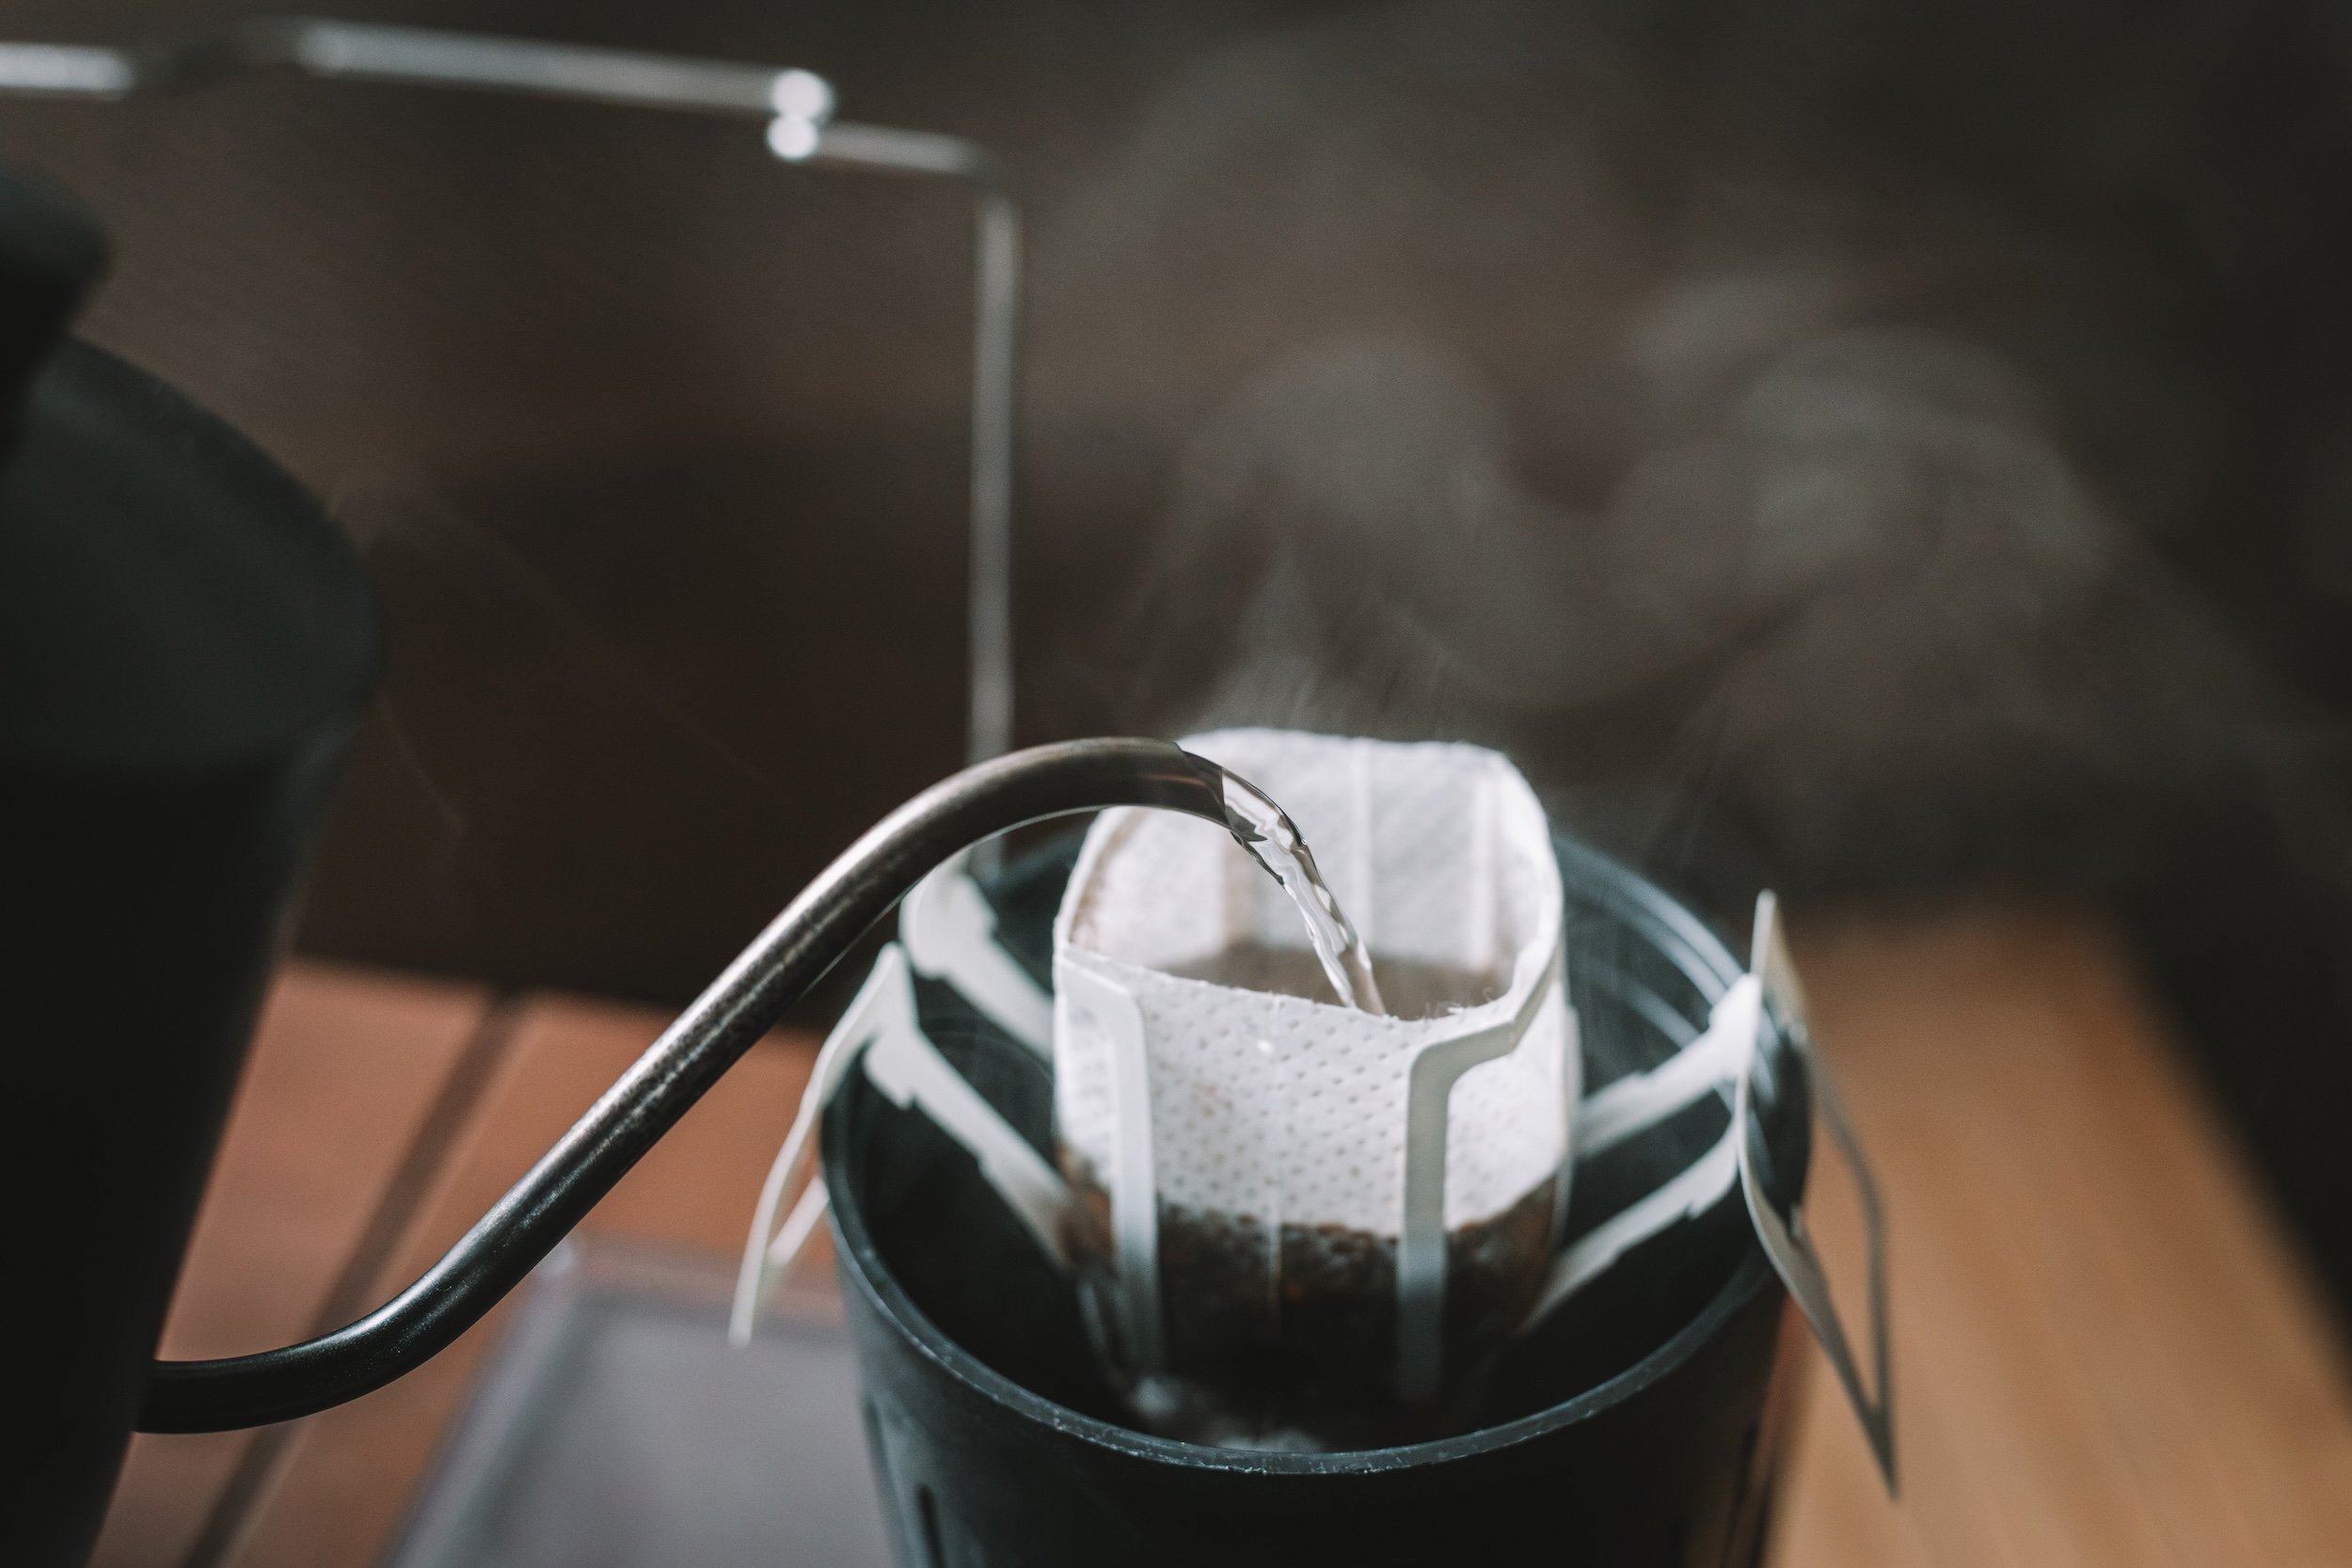
On a cold rainy afternoon, I packed my lunch box full of coffee brewing equipment, plus two cameras and a portable light, and climbed inside Nacho the Van for a photo shoot. Since I was using travel pouches, I didn’t need to pack my regular coffee brewing items like a hand grinder, pourover dripper, and filters. When you’re using travel pouches, all you need to do is tear open the pouches, and you’re ready to brew.
In all of my rushing around to pack the Stanley lunch box and get all of my camera and lighting equipment ready, it wasn’t until I was set up inside Nacho that I realized I had forgotten a mug to brew the coffee in. I panicked until I realized I could easily use the cup/lid on my old school thermos, which I use for water. Crisis averted, and I was ready to brew.

When I created our travel pouches, I decided to put 15 grams of ground coffee in each one. That means, at a 1:15 coffee-to-water ratio, you should brew using 225 grams of water. As we’ve been selling lots of travel pouches plus sending them out to testers and content creators, I see that most people don’t use or pack a scale with them. Either way works. I happen to obsess a bit over my brew methods and weighing and timing everything precisely, which is why I always carry a scale. Luckily, as I shared, you can snag an inexpensive packable travel scale (with a cover) for around $10 online.

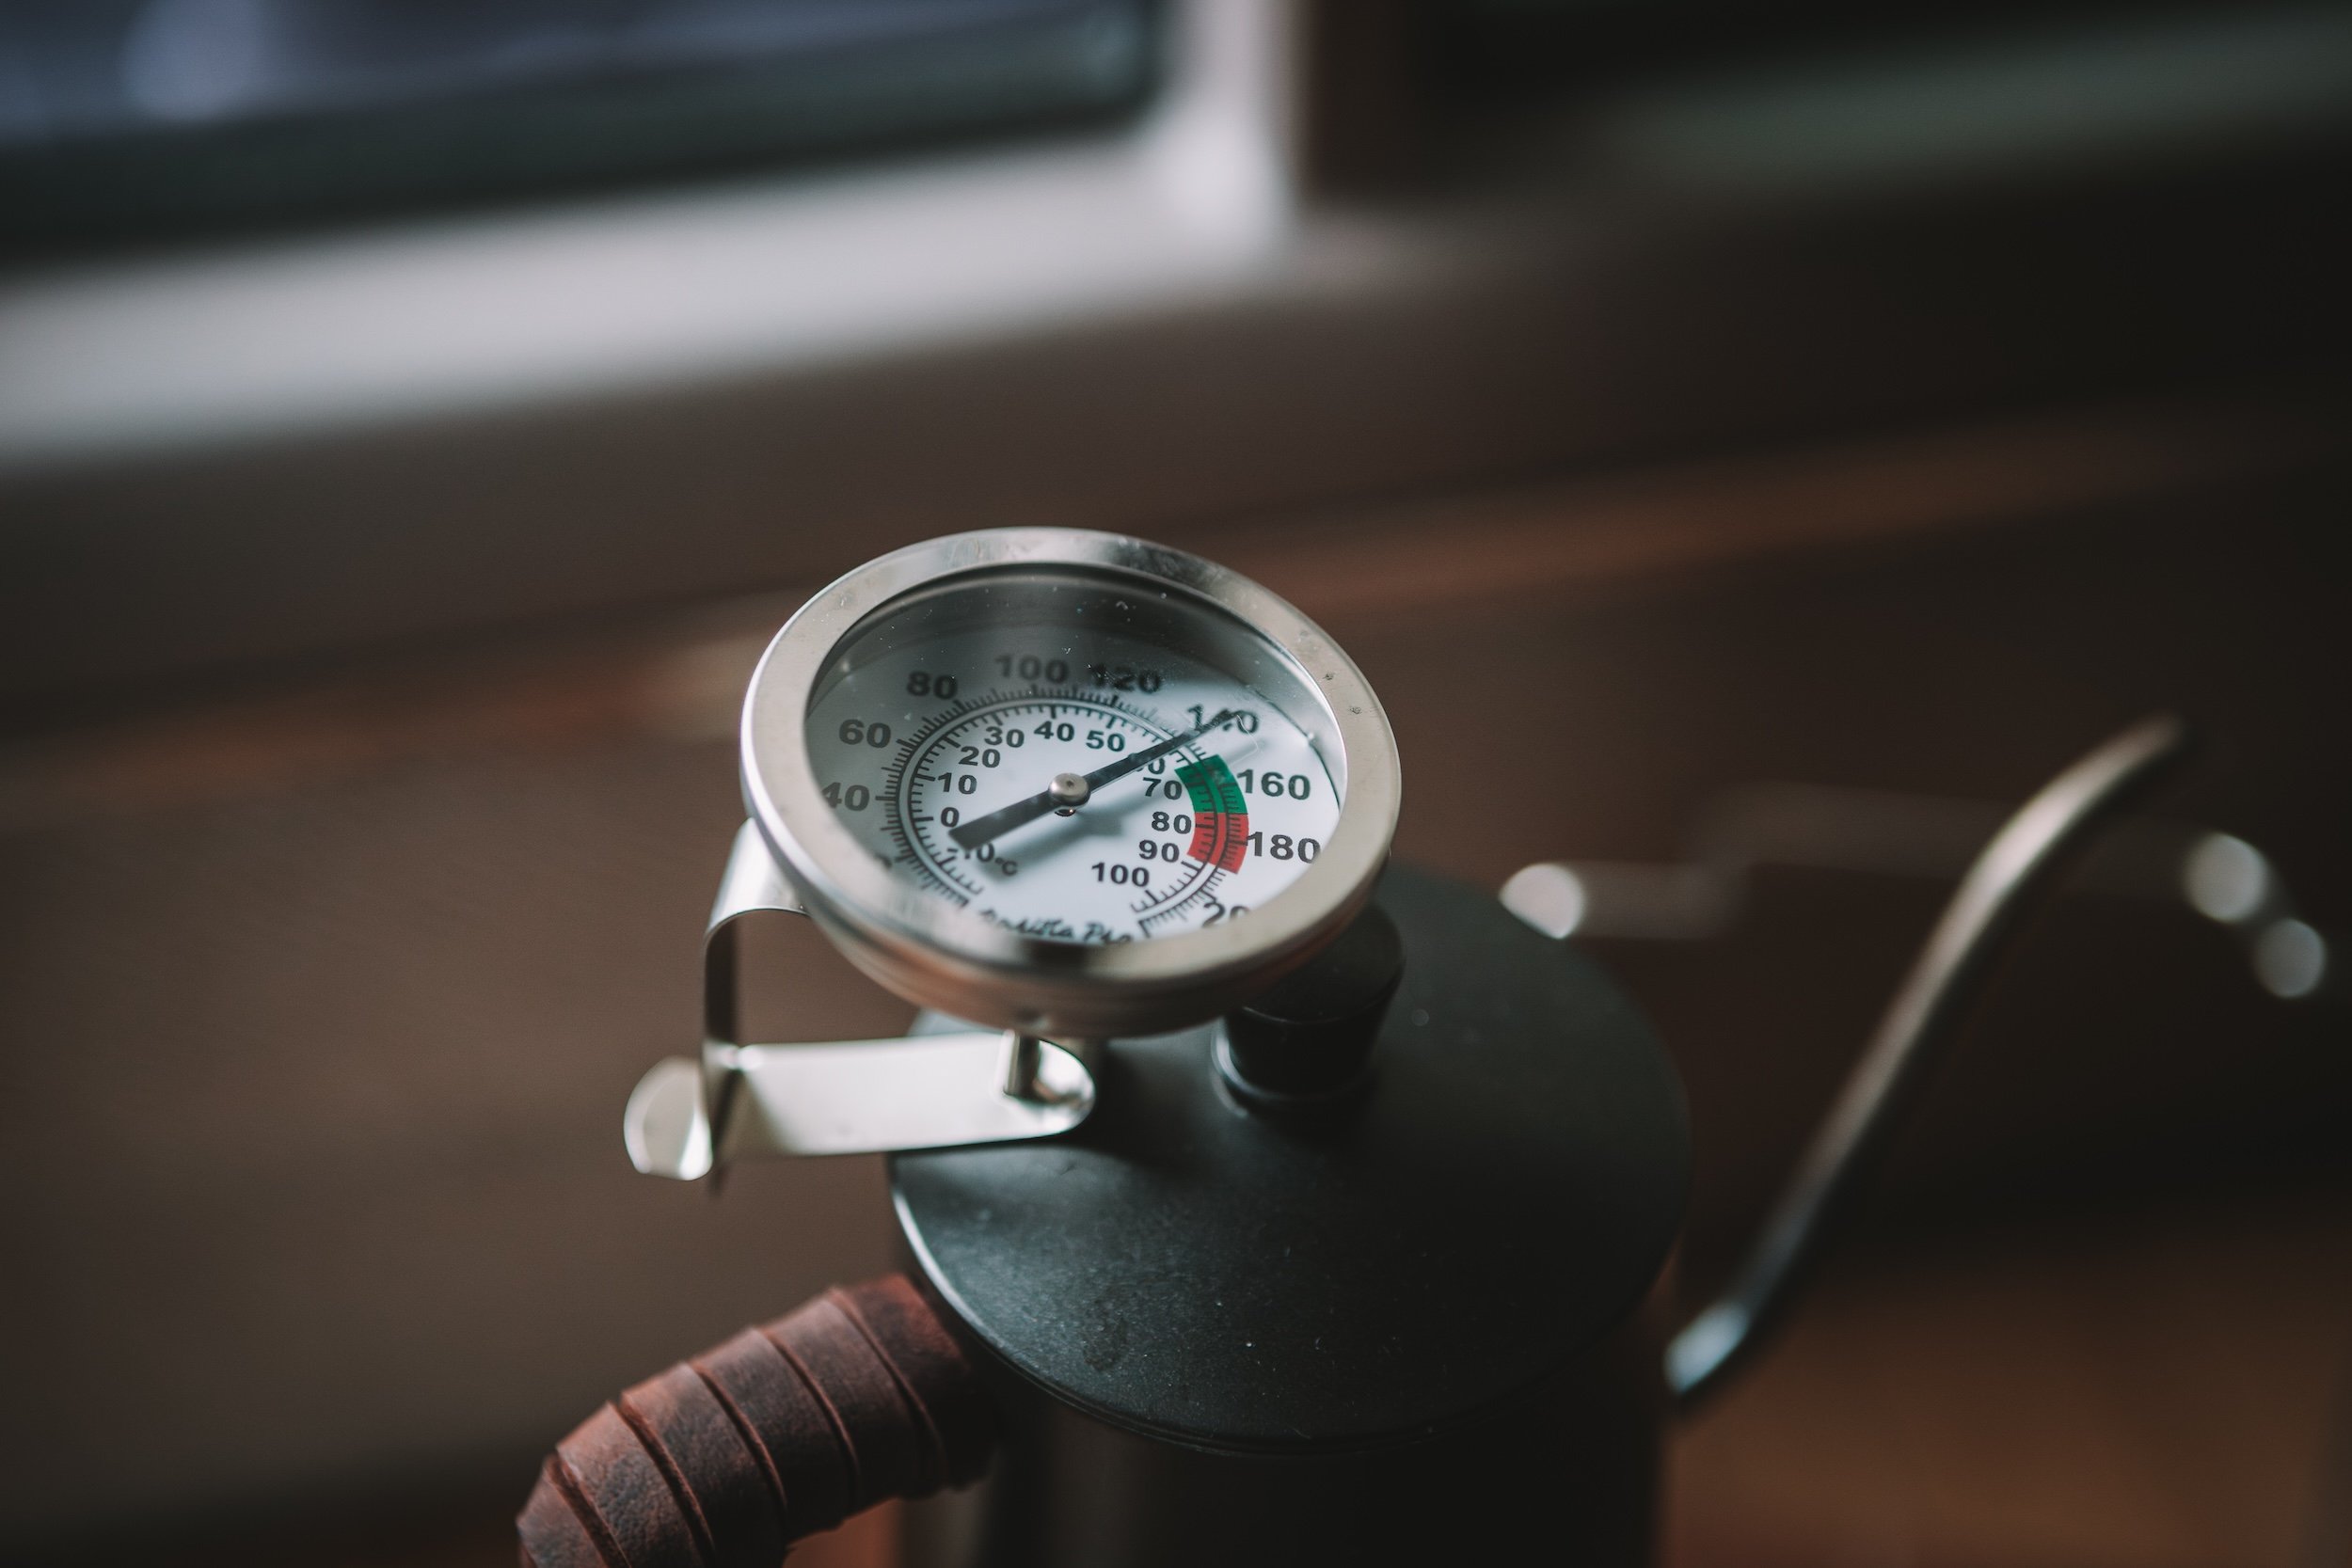
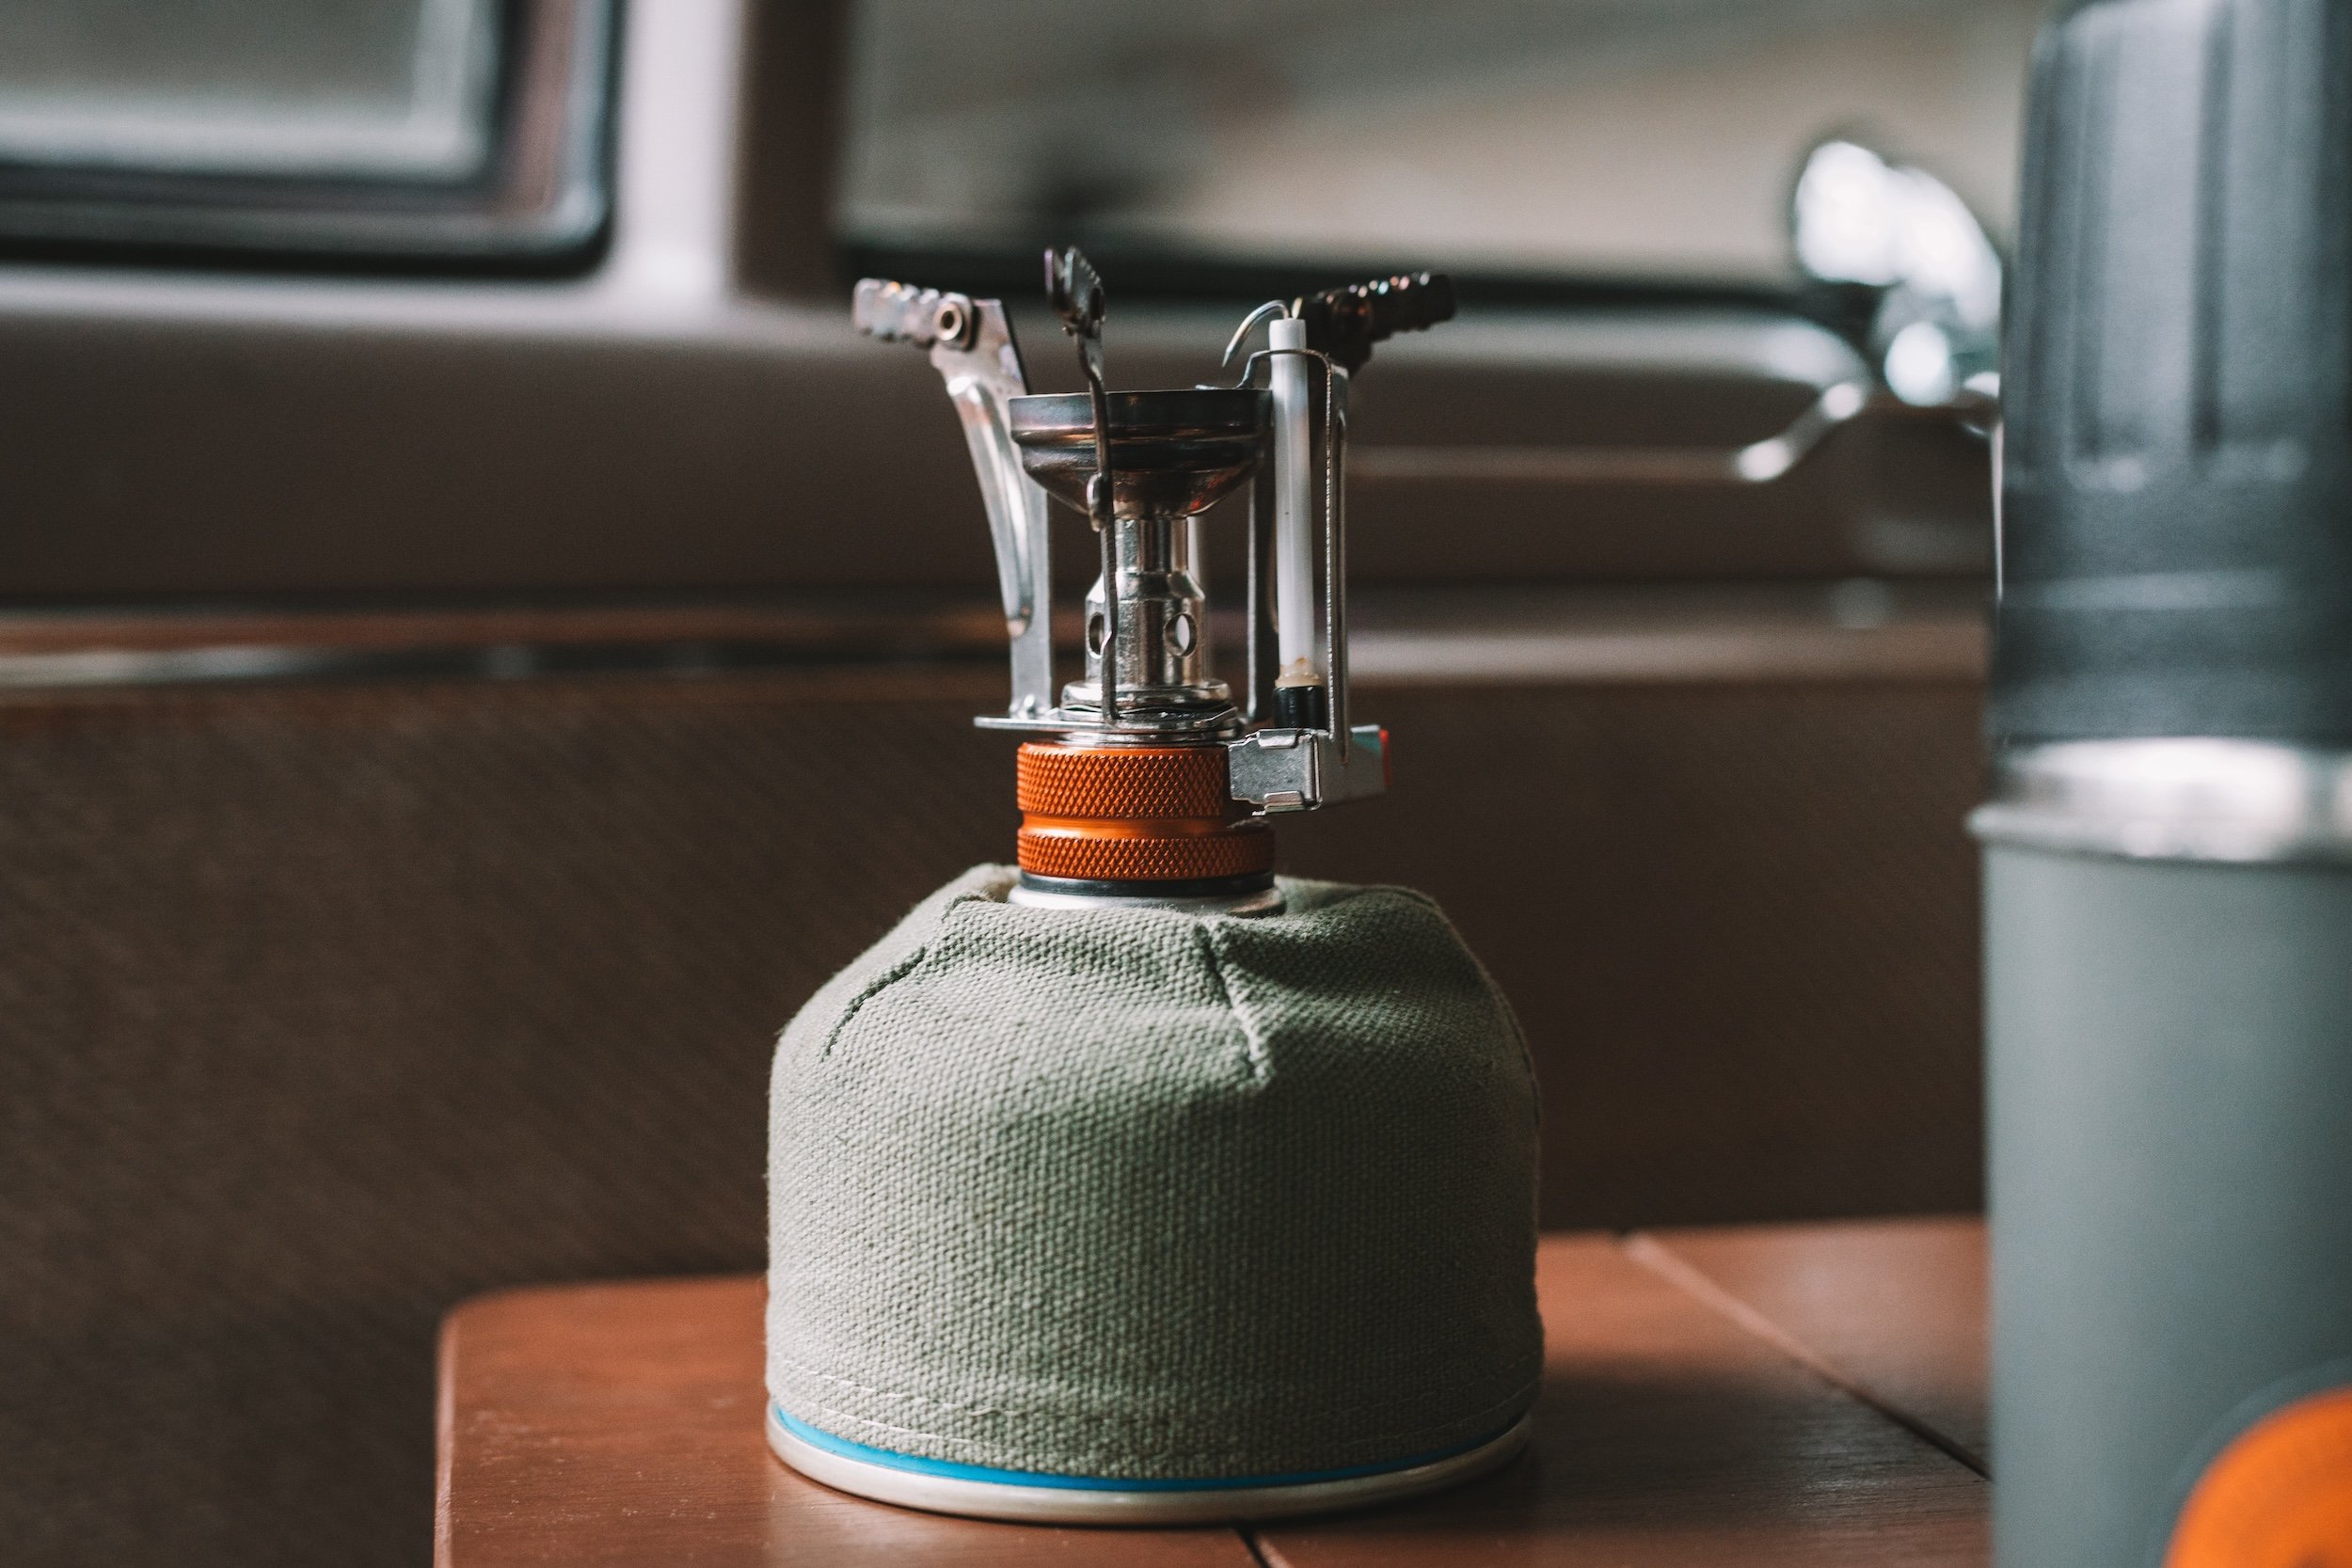
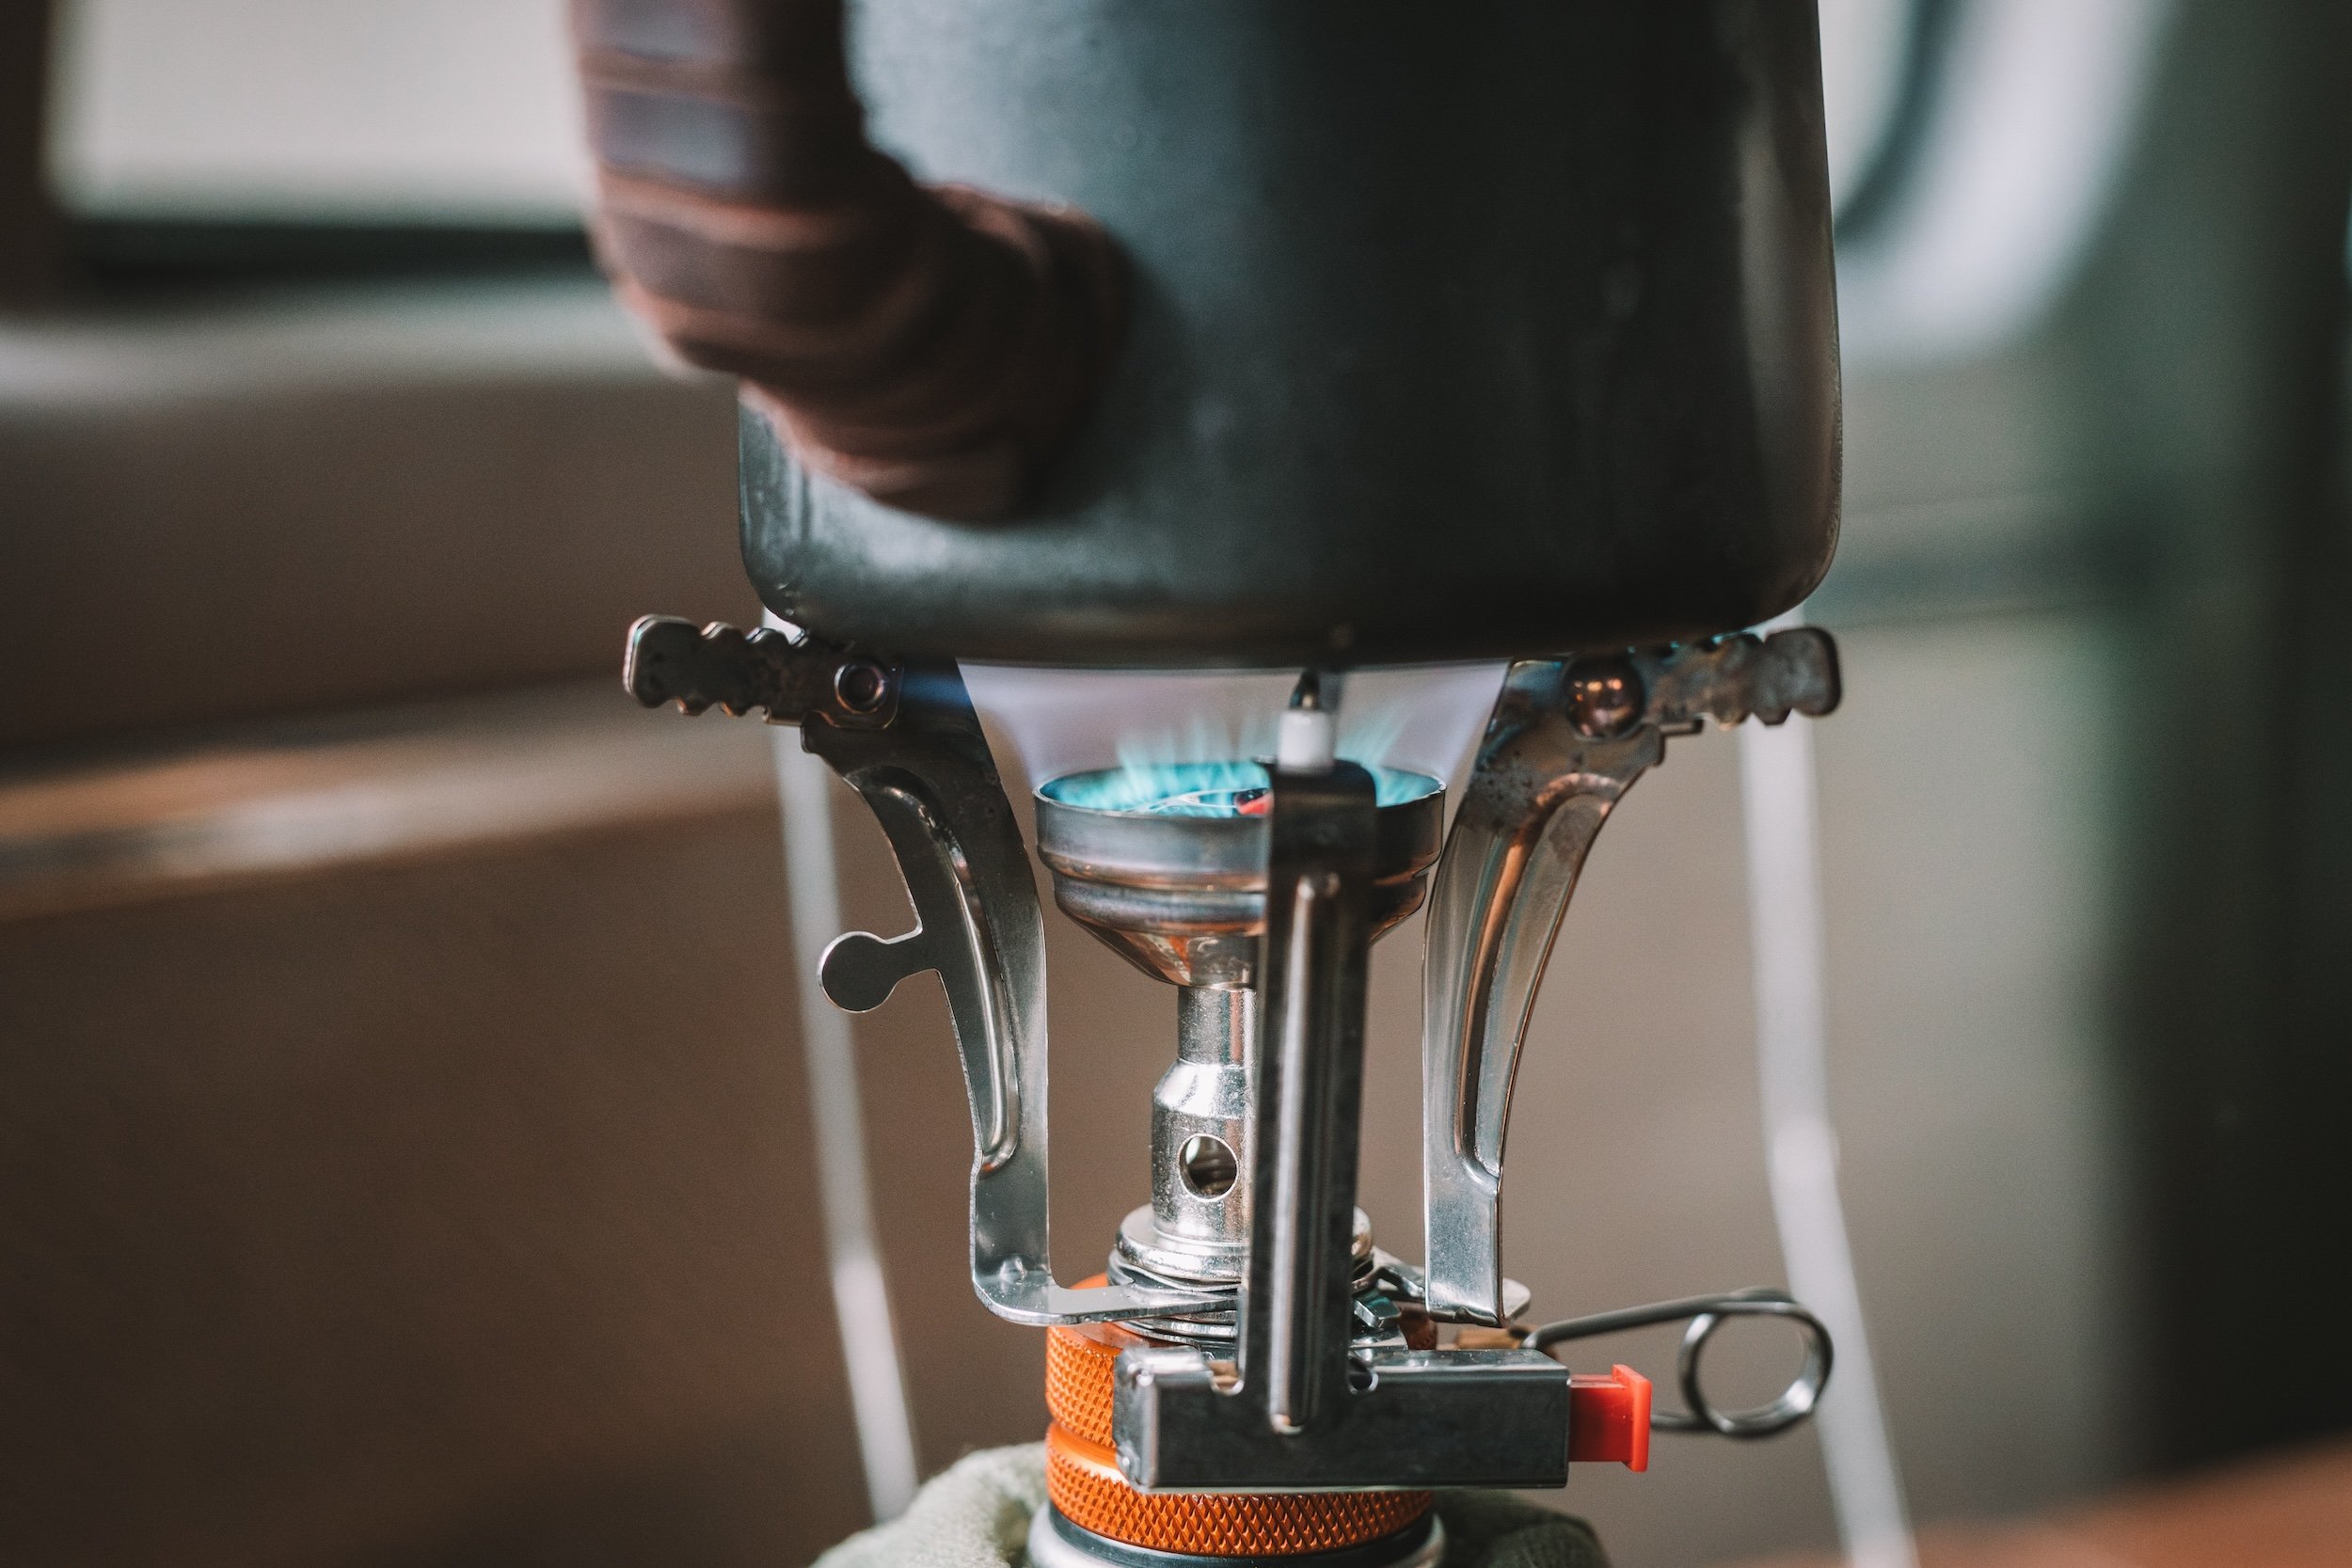
After my water was heated, it was go-time for brewing. I’ve come to appreciate our travel pouches because they are packable, light, and easy to use. Brewing with them is simple. All you need is hot water. While I prefer brewing with a gooseneck kettle, many of the photos I’ve seen of people brewing with our travel pouches that many are using regular kettles, Jetboils, etc. As long as you can pour hot water, it works!


And it was that easy brewing a cup of coffee with our travel pouches from inside Nacho the Van on a cold rainy afternoon in Portland. The coffee we have right now is a natural Ethiopia Sidama Bombe. If you’re into fruit bombs, this delivers. It is by far the fruitiest coffee we’ve yet to offer. It not only tastes fruity, but it smells fruity as well. If you’re used to chocolatey or nutty coffees and want to try something new, this is the way to go.
Whether you’re brewing our travel pouches from inside a Stanley lunch box (technically, it’s “on” it) or have them tucked away in a bag on your bike on a bikepacking trip, you can brew them anywhere. Stay tuned as we roll out more coffee offerings for our travel pouches.